Cutout Studio
🎯 Overview
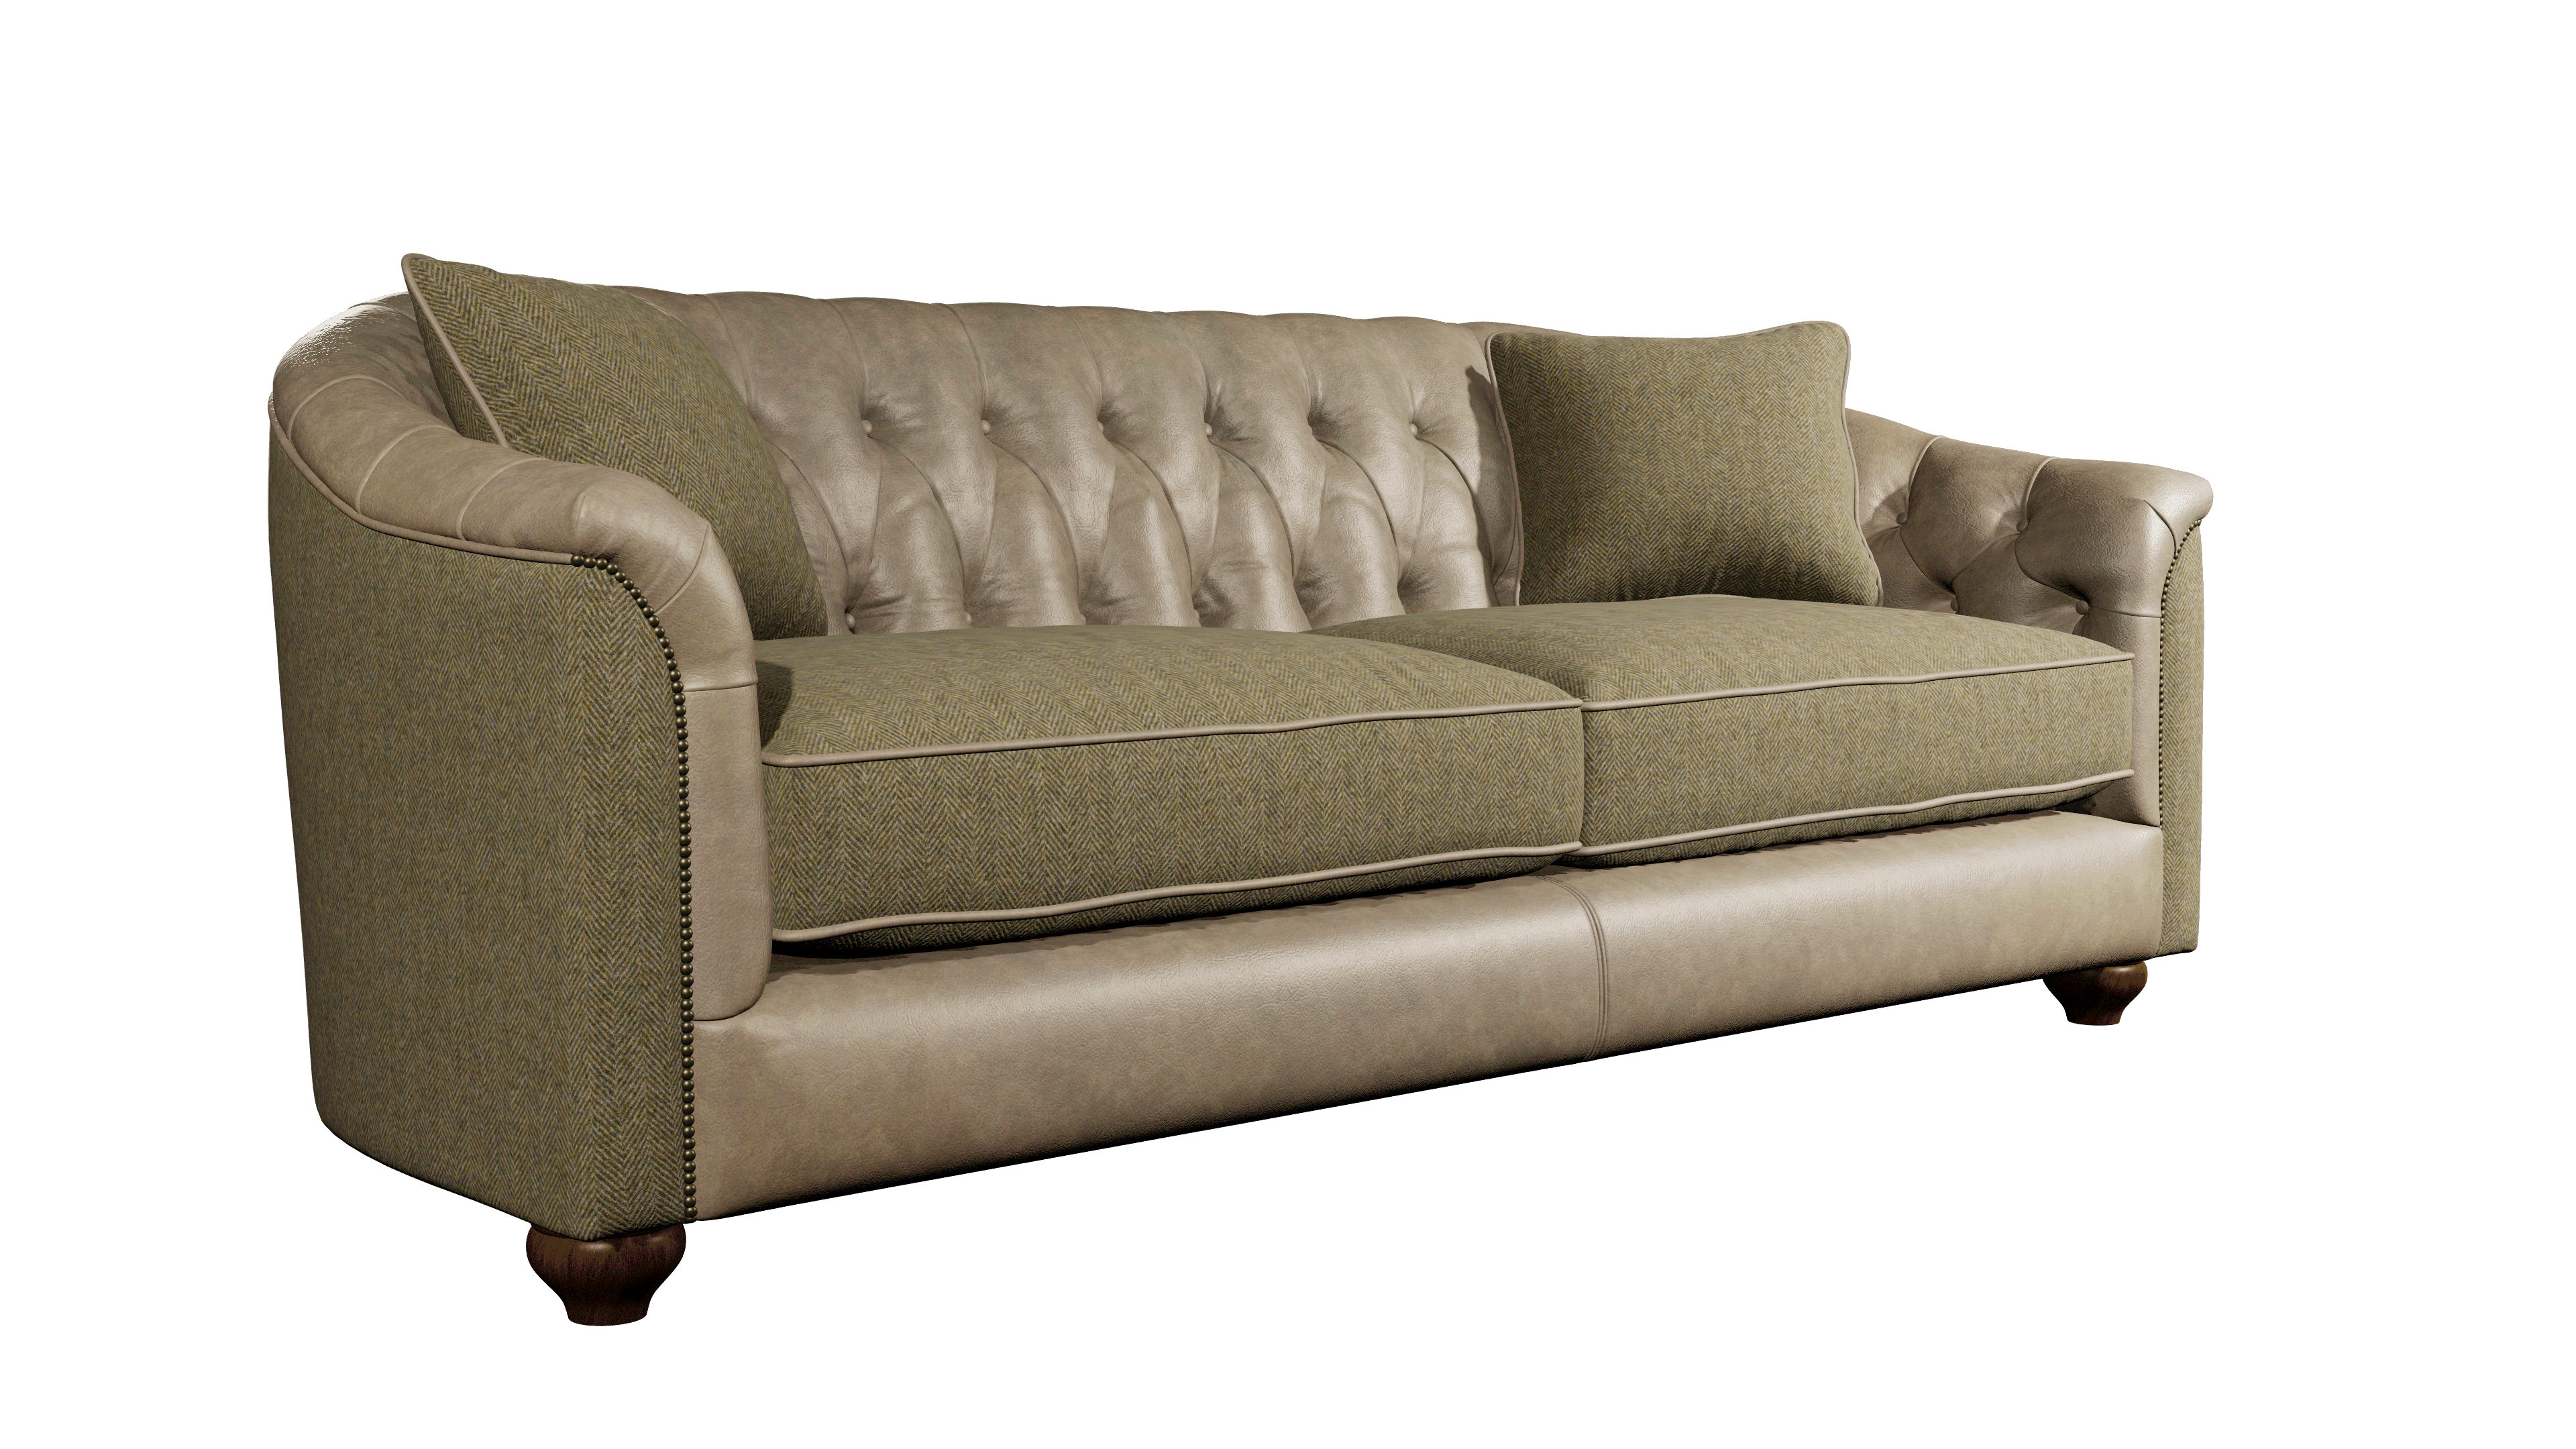
Cutout Studio generates high-quality 3D renders of your products or materials. These renders are called cutouts because of their transparent background.
Cutouts are perfect for use in 3D renders or AI image generation.
The cutout studio guides you through all possible rendering combinations, letting you choose which options to render your products with. You can then start the job to render them all at once. Once it has finished you can return, review the results, and then move onto downloading your cutouts or using them in AI.
🚀 Getting Started
📝 Creating New Product Job
When navigating to the Cutout page, you will see a list of all your cutout jobs. This shows the status of the jobs, and allows you to view, approve, and download the renders. More on this later.
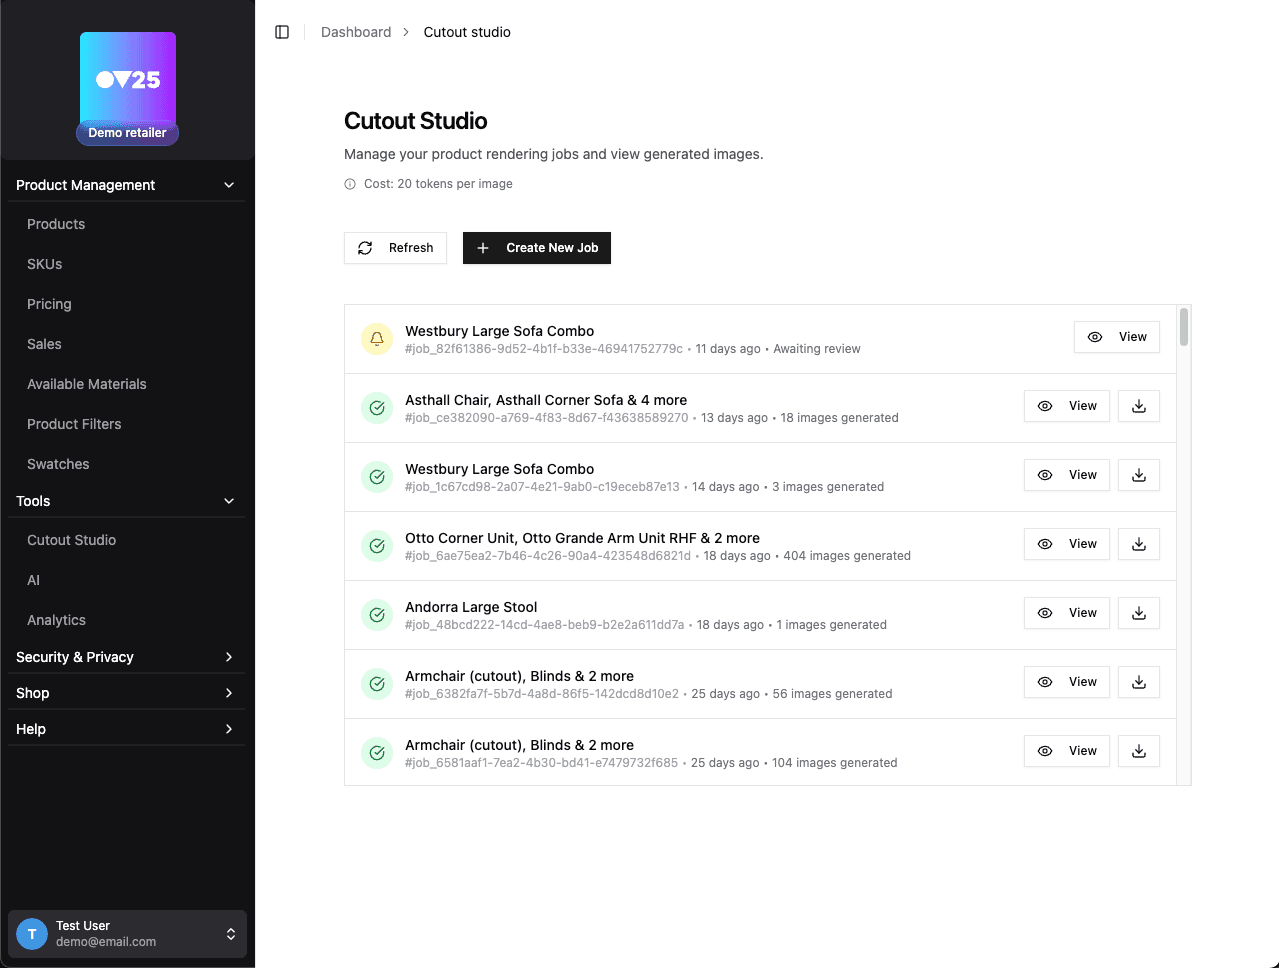
To create a new cutout job, click the Create New Job button.
Step 1: Select Job Type
From the cutout landing page, select "Create New Job" and then "Product Shots" to create a new product job.
Step 2: Select Products
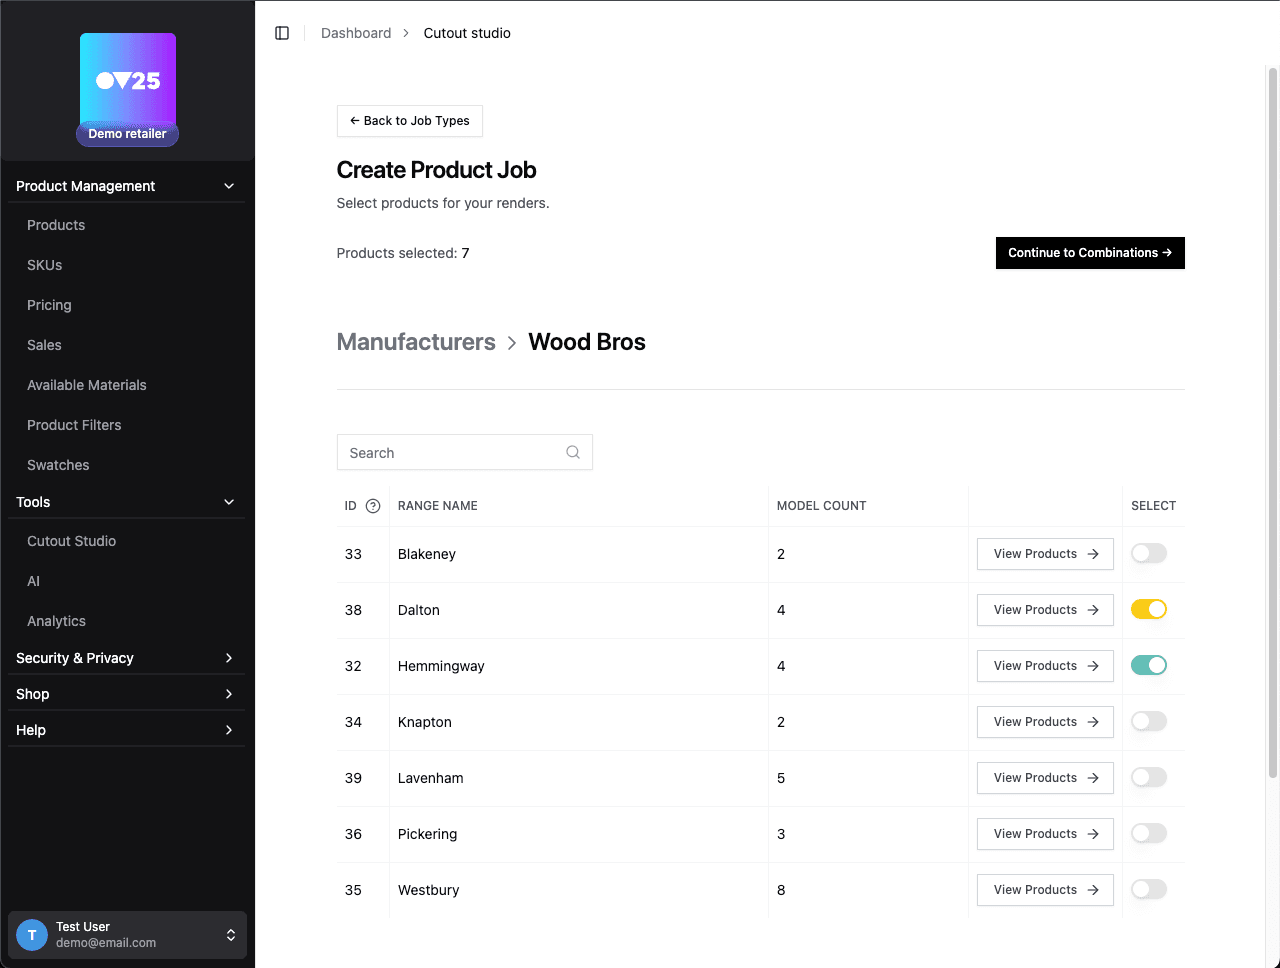
Select the products that you want to render cutouts for. You can select individual products or entire ranges or collections.
Click Continue to Combinations when you've selected all items.
Step 3: Select Combinations
On this step, you must choose which options to render the products with. For example, you may want to render the products in all fabrics, but only with Oak wood legs.
First choose a Selection Mode:
- Exclude: Remove specific fabrics/options from your renders (starts with all included).
- Select: Choose specific fabrics/options to include in your renders (starts with none).
In the bottom section, you will see a list of all options for the products you selected. You can click an options to see all selections for that option, and choose which ones to include or exclude.
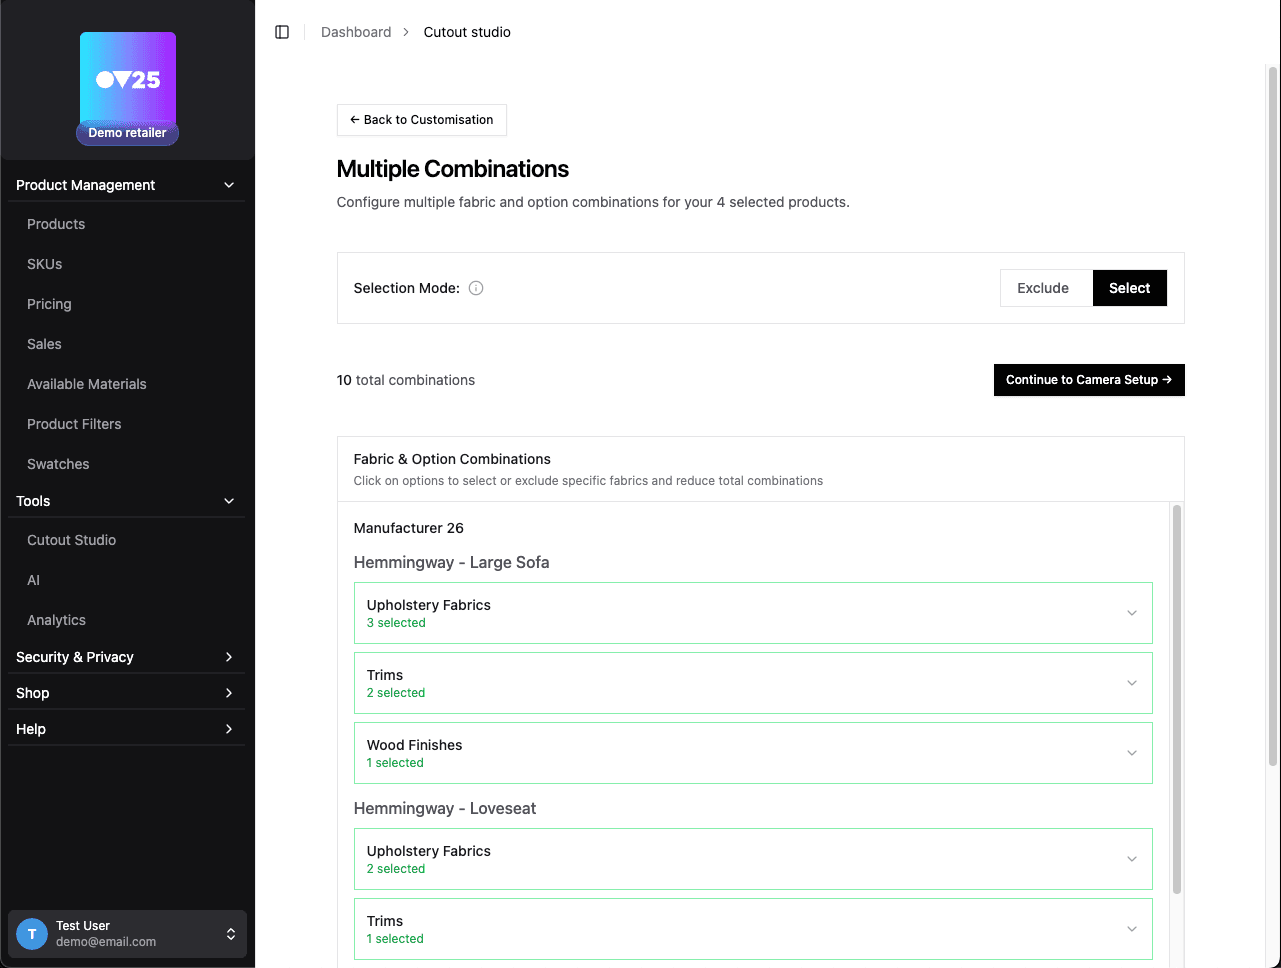
Once you are happy with your selections, click Continue to Camera Setup to proceed to the next step.
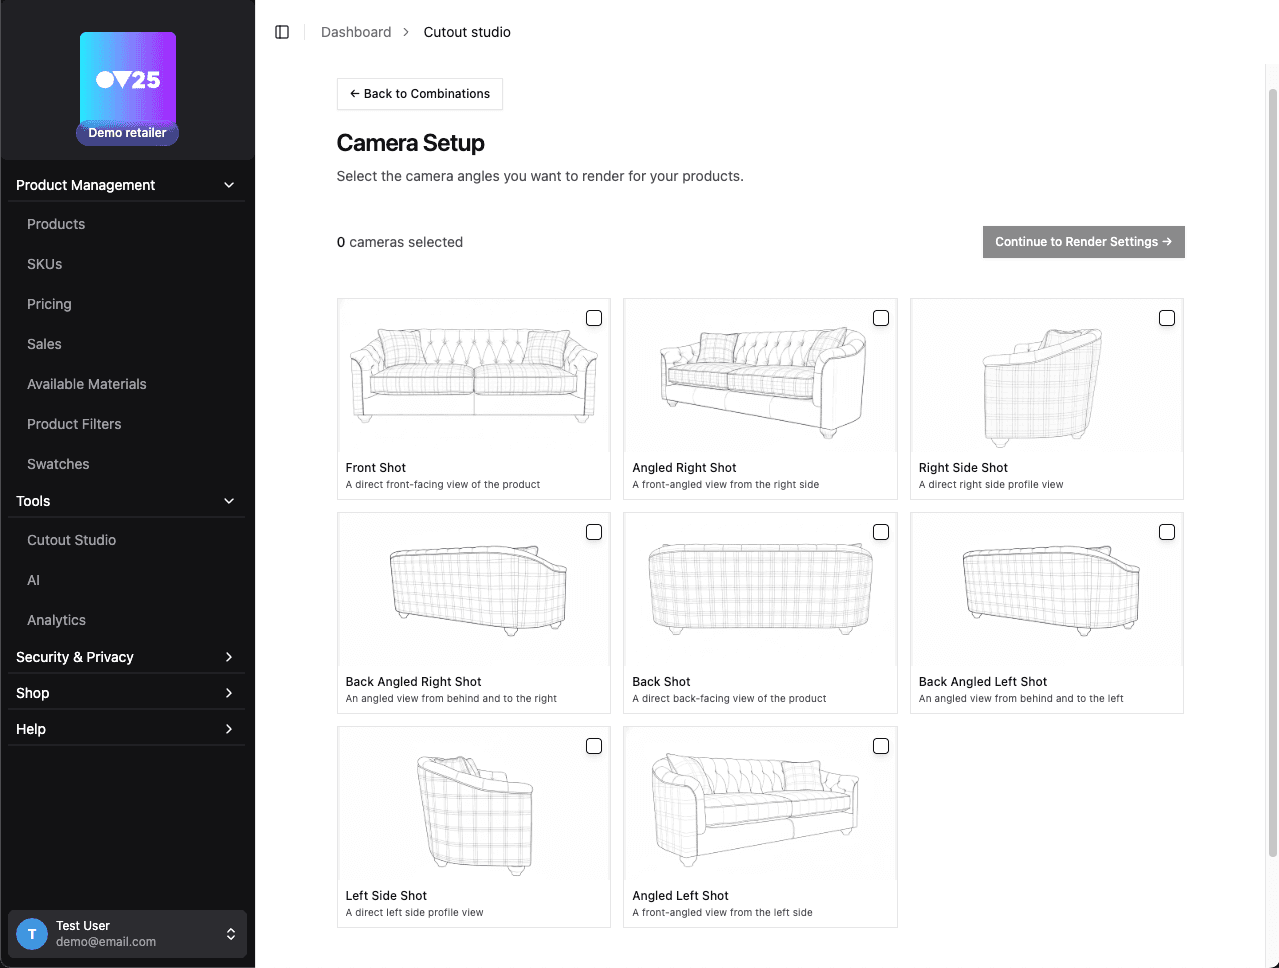
Step 4: Select Camera Setup
On this step, you must choose which camera angles to render the products with. You can select one or more camera angles.
Step 5: Review Settings and Start Generation
This step shows a summary of your job configuration, the choices you made over the last few steps, and allows you to start the generation.

Check your settings carefully - pay close attention to how many renders will be generated, and the total token cost.
You can also choose:
- Whether to render shadows on the floor.
- Whether to render the products with animations open (only applicable to products with animations).
When you are happy with your settings, click Generate to start rendering.
💰 Token Costs
Render generation consumes tokens. There is a set token cost per image generation. Total cost will be this multiplied by the number of renders to be generated.
All costs are displayed before generation, so you always know how many tokens will be used.
Need more tokens? Purchase tokens here.
⏳ Monitoring Your Job
After submitting a job, you'll see it in the job list with one of these states:
 Pending
Job is queued and waiting to start. Depending on queue length this may take some time.
 Processing
Job is actively rendering. You'll see progress updates as images are completed.
 Awaiting Review
Renders are complete and ready for review. You can:
- Review all generated renders
- Re-render any images that need adjustment
- Download individual renders (with transparent backgrounds)
- Mark the job as completed
 Completed
Once marked as completed, you can download full HD renders with transparent backgrounds. You'll no longer be able to re-render images.
 Failed
Job failed to render. You can retry the job to re-render the images.
📝 Reviewing your Job
Once your job is complete, you can review it. Select the job from the list to view the results.
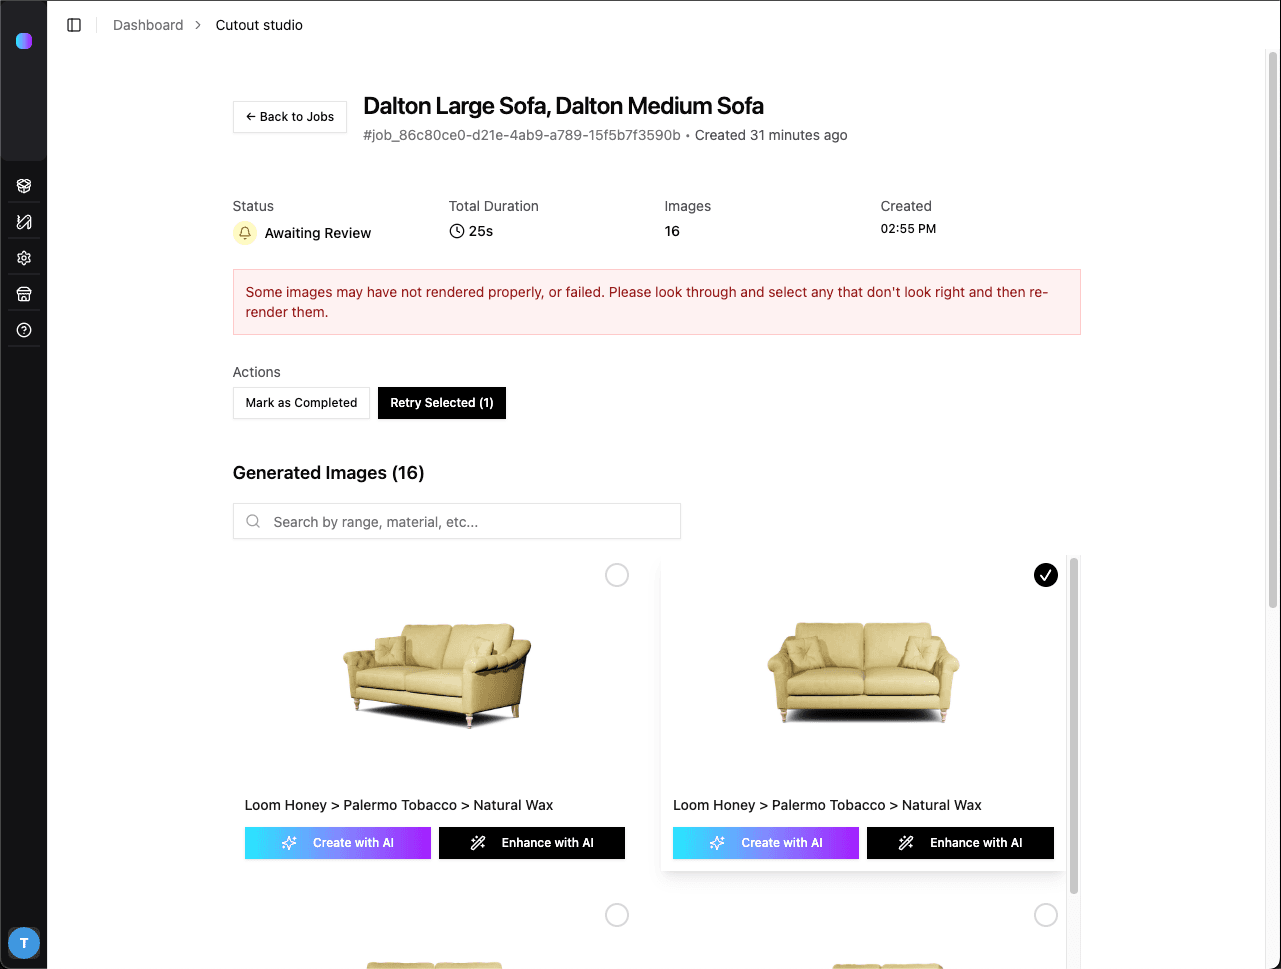
You can review all generated renders, and re-render any images that failed or did not render correctly. This can happen occasionally when doing large amounts of renders.
Once you select "Mark as Completed", you will be able to download the full HD cutouts. You will no longer be able to re-render images.
Images can be downloaded individually
🚀 Next Steps
Once you have product or material renders:
- Use in AI → Generate image and video content from your renders
- Add to Products → Use your renders as images for your products in Product Management