WordPress (WooCommerce)
Install our WooCommerce plugin to get up and running in minutes.
1. Plugin Installation
You can install our WordPress plugin from our official GitHub repository:
Installation Steps
- Download the extension zip file (ov25-woo-extension.zip)
- Navigate to your WordPress admin panel (
www.{yourwebsite}.com/wp-admin) - Go to Plugins → Add New
- Click "Upload Plugin" at the top of the page
- Choose the downloaded zip file
- Click "Install Now"
- Activate the plugin
The plugin will now appear in your plugins list. You can enable automatic updates to keep the plugin current.
2. Plugin Configuration
Prerequisite: WooCommerce must be installed and activated before configuring the OV25 plugin.
Basic Setup
- From the WordPress admin panel, navigate to WooCommerce → Settings → OV25 in the sidebar
- Configure the following settings:
API Key Configuration
- Visit app.orbital.vision/auth/api-keys
- Create a new API key or use an existing one with productConfiguratorAccess type
- Copy and paste the API key into the plugin settings
Domain Authorization
- Go to app.orbital.vision/authorized-domains
- Add your website domain to the authorized domains list
Additional Settings
Logo Configuration
- Set your main logo URL
- Set your mobile logo URL
Display Options
- Auto Carousel: Enable to add an image carousel combining WordPress and OV25 images
- Defer 3D: Enable to show WordPress product images until customization begins
Configurator Setup UI
Use the OV25 setup UI to control storefront layout, element selectors, gallery behaviour, branding, element styles, text overrides, and behaviour flags. In WooCommerce, these settings are saved by the plugin and passed to the storefront automatically.
See OV25 Setup for Shopify and WooCommerce for an explanation of what each setup control does.
Opening the Configurator or Swatchbook programmatically
If you want more control over how the configurator or swatchbook is opened, you can attach the following functions to your custom buttons:
Attach them to your button's click handler:
You can open the configurator on a specific option by passing the option name to the function:
Custom CSS
The OV25 UI is styled by default, but this might not match your theme.
Some of the styles may also be overridden by your theme's base CSS - for example if you have CSS that gives all images a background color, this may also affect the OV25 UI.
In the OV25 settings page (WordPress admin → WooCommerce → Settings → OV25), you can add custom CSS to override this and style the UI.
We have added IDs to important elements so you can style them with high-specificity selectors.
Certain elements also have data attributes - this can be used to style the selected element based on its state.
- Variant cards have
data-selectedattribute (true when variant is selected) - Option tabs have:
data-selectedattribute (true when option is selected)data-optionalattribute (true when option is optional or has a 'None' value)
- Price has
data-saleattribute (true when price is reduced due to a sale) - Filter section has
data-openattribute (true when filters section is open) - Individual filters have
data-checkedattribute (true when filter is active)
3. Product Setup
Linking Products
- Navigate to Products in the WordPress admin
- Create a new product or edit an existing one
- In the Product Data section, locate the "OV25 Product ID" field
Product ID Types
You can link two types of products:
Individual Products
Product Ranges
Finding Product IDs
- Go to app.orbital.vision/products
- For retailers:
- Select a manufacturer
- Browse ranges or individual products
- For manufacturers:
- Browse your ranges directly
- Click "View Products" to see individual products
Copy either the range ID (format: range/123) or individual product ID (format: 123) to use in your WooCommerce product settings.
4. Swatches
Swatches are physical fabric or material samples that customers can order directly from your website. They allow customers to see and feel actual material samples before making a purchase decision, which is especially valuable for furniture, upholstery, and textile products.
OV25 has a standalone swatches page that can be displayed on your website. This page allows customers to browse and order swatches directly from your website. Your customers can also see and order swatches from any page with a 3D configurator on it. You can activate swatches for any fabric you have on OV25.
Swatches have a separate cart to regular products. Customers cannot order both at the same time.
Swatches are shared between all product pages and the swatches page so customers can order swatches from different products at the same time.
See the documentation for more information on swatches, and setup your swatches here.
Important: Swatches must be configured and enabled in the OV25 dashboard before they will work on your WordPress site.
Activating Swatches on WordPress
Step 1: Get Private API Key
The swatches page requires a private API key:
- Visit app.orbital.vision/auth/api-keys
- Create a new API key with the privateApiKey type
- Copy the private API key (you'll need this for the next step)
Keep your private key private! Anyone with access to your private key will be able to access your data on the OV25 API. You can always revoke the key and generate a new one.
Step 2: Configure WordPress Settings
- From the WordPress admin panel, navigate to WooCommerce → Settings → OV25
- Scroll to the Swatch Page Configuration section
- Configure the following settings:
Private API Key
- Paste the private API key you obtained from the OV25 dashboard
Show Swatches Page
- Enable this checkbox to activate the swatches page on your site
Swatches Page URL
- Set the URL slug for the swatches page (default:
swatches) - Examples:
swatches,samples,fabric-samples,swatch-book - The page will be accessible at
www.{yourwebsite}.com/{your-slug}
Swatches Page Title
- Set the title displayed in menus and page headers (default:
Swatches) - Examples:
Fabric Samples,Swatch Book,Material Samples
Show in Navigation
- Enable to include the swatches page in your site's navigation menu
- Disable to hide it from menus (page will still be accessible via direct URL)
- May not work with custom themes - if so you will have to create a link to the page.
- Click Save Changes
The plugin will automatically create a swatches page at your specified URL with the [ov25_swatches] shortcode.
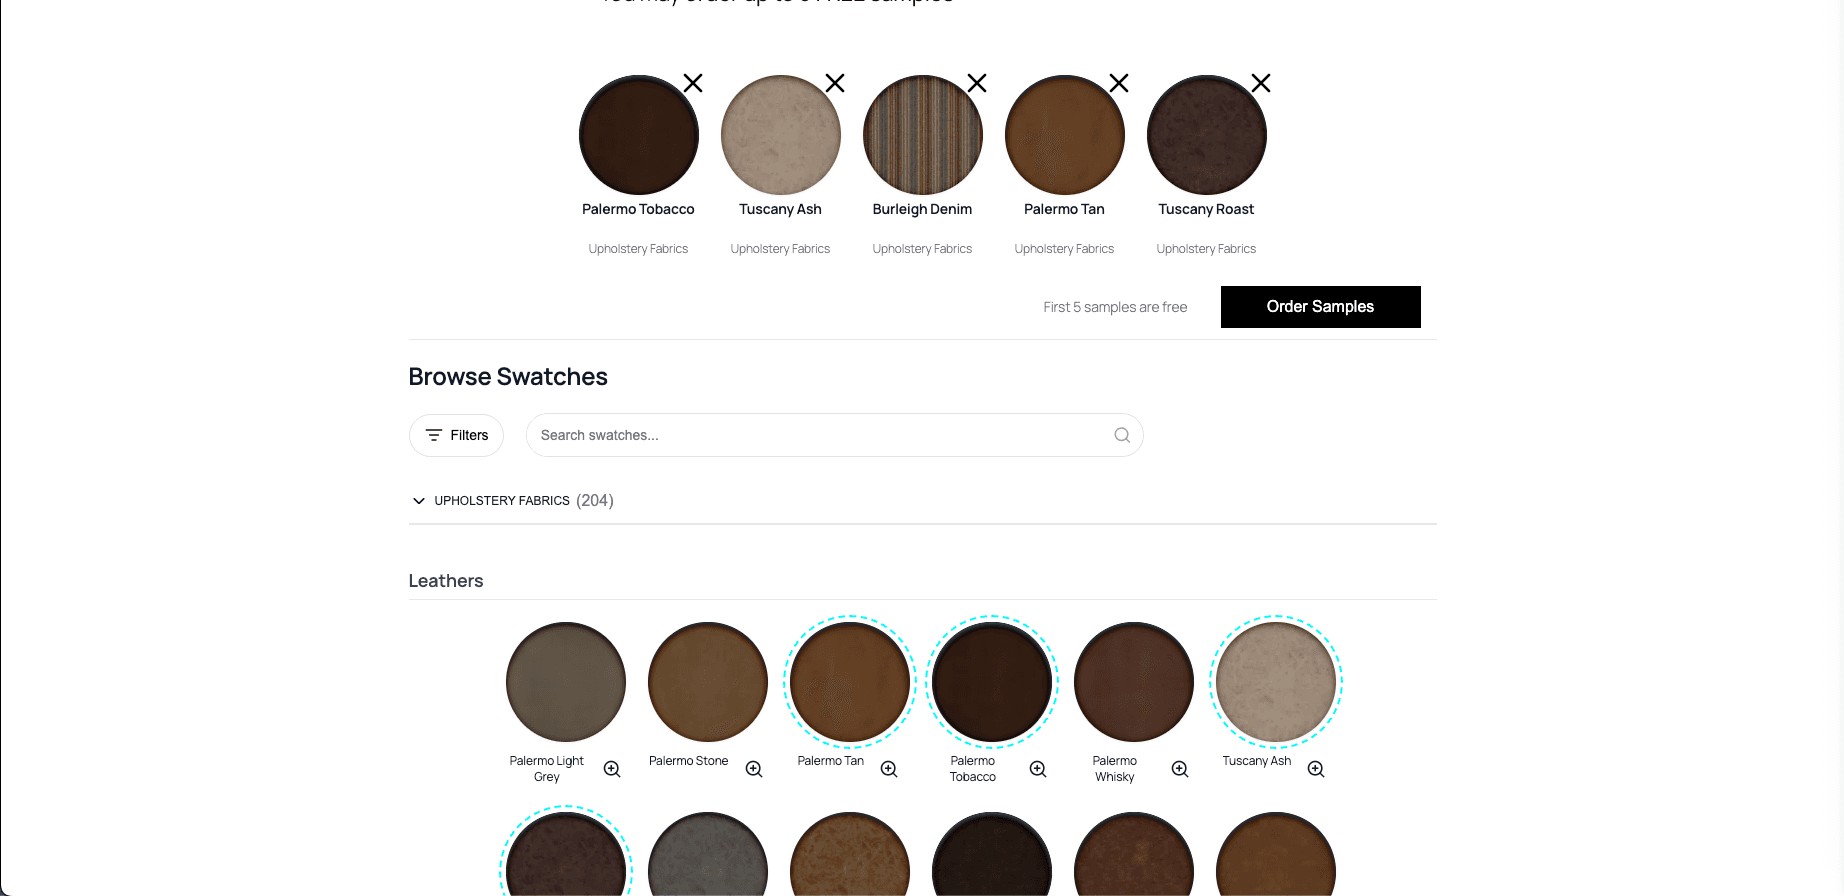
Swatch Page Layout
All swatches are displayed in a grid layout on the left hand side of the page. Swatches are grouped by options, and can be expanded to view a high resolution image of the swatch.
The customer's cart is displayed in a panel on the right hand side of the page. It shows all the swatches in the cart, and the cost breakdown. Clicking the "Order Samples" button will open the checkout page.
Customers can add or remove swatches from their cart by click the + or - buttons next to the swatch.
You can customize the swatch page's appearance using custom CSS.
Swatches on Product Pages
From any page with a 3D configurator on it, customers can add swatches to their cart. Any fabric with a swatch will have a button to add or remove the swatch from their cart. Swatches are shared between all product pages and the swatches page.
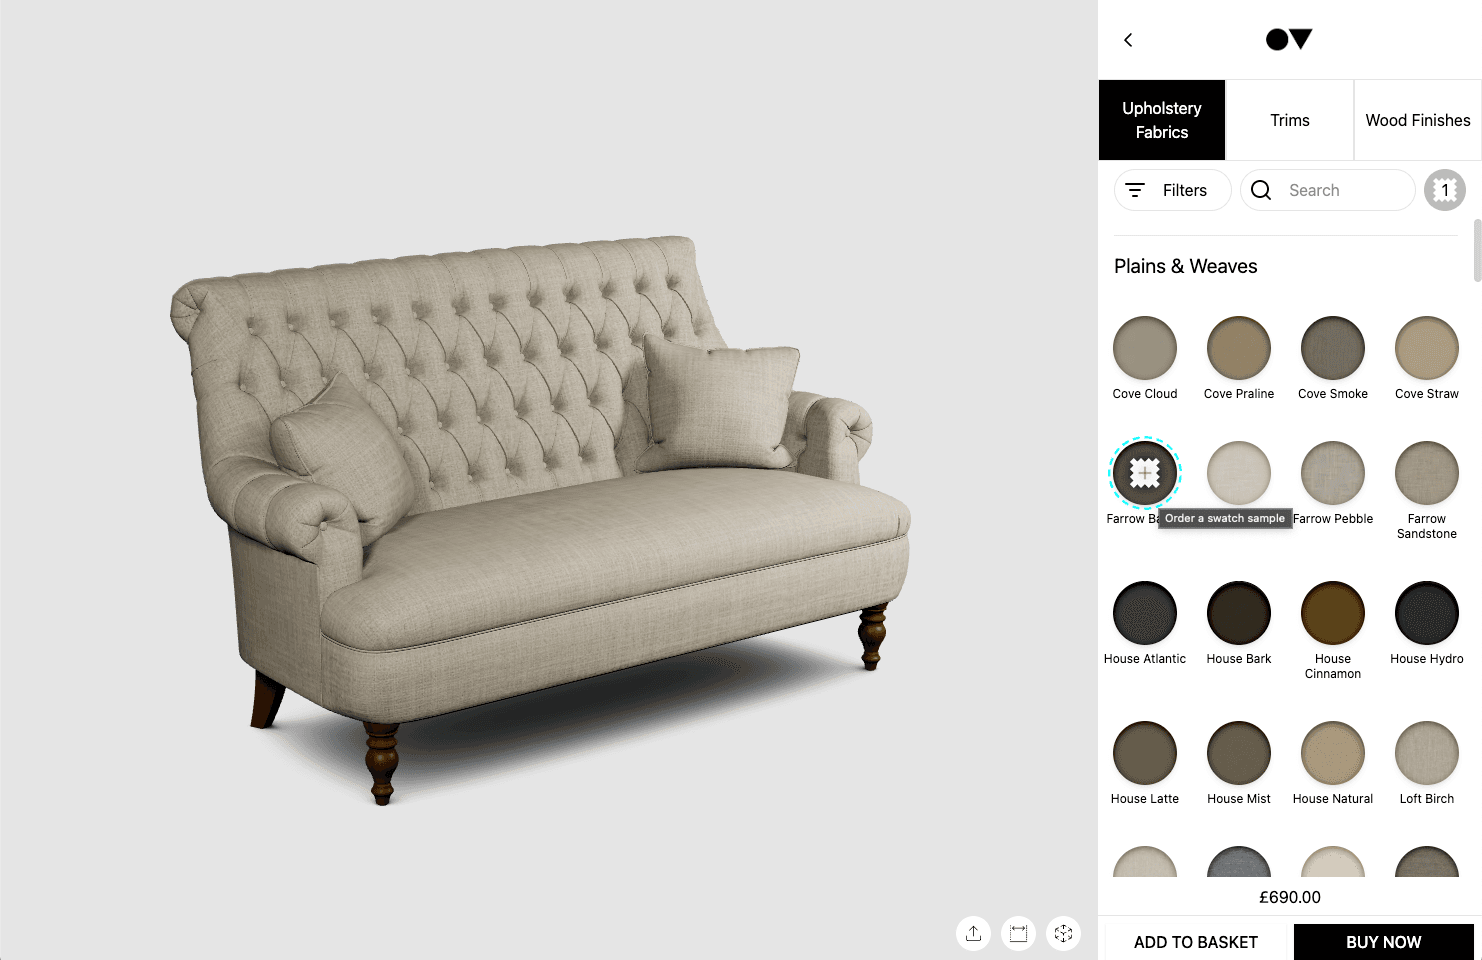
Customers can also see their swatch cart directly on the product page. This can be shown by clicking the swatch icon inside the 3D configurator UI (next to the search bar).
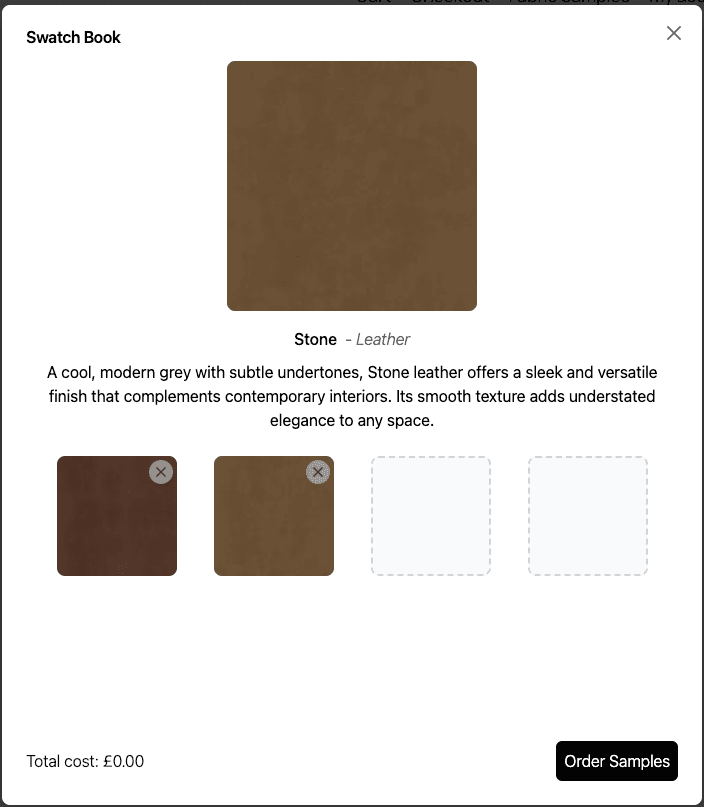
You can also add a button to you product page to directly open the swatch book. This can be configured with the "Swatches Selector" setting in the OV25 settings page on wordpress admin.